
Are you unable to access the charger of your camera, but its battery is almost dead? What if I tell you that you can actually charge your camera battery even if you have lost your charger? I’m sure you’ll be intrigued to know more about these alternative methods to supply power to your camera.
Since I own a Canon camera, I will be mentioning the effective and quick ways of charging a canon camera battery without a charger. Depending on the model of your camera, you should be able to apply most of these techniques to charge it if you lack a charger.
How To Charge Camera Battery Without Charger
There are four ways that you can use to charge your camera battery if you do not have access to a charger. However, for most of these methods, your camera should have a USB port. So before you proceed, make sure to confirm its presence in the camera model you own. The techniques to charge your canon camera battery without a charger are listed below.
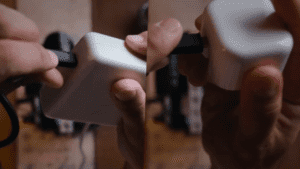
1. Use a power bank
With a power bank, you can charge the battery of your canon camera effortlessly. Whether you are trekking or simply going out, you can conveniently charge your canon camera while it stays in your backpack using this technique.
Although using a power bank could be time-consuming, it does not demand a wall outlet for charging your camera. Being a portable charger, a power bank is quite handy and can be taken anywhere.
With the need for an outlet being eliminated, you just need to grab a USB connector. Furthermore, you should make sure that your power bank has enough power for efficient charging of your camera.
For canon cameras, power banks that come with a capacity of 30,000 mAh are generally appropriate. For detailed instructions on charging your camera with power banks, refer to the following steps.
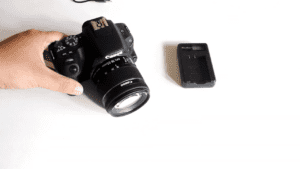
Step 1: Switch off your camera
The first step for charging your canon camera with a power bank is to turn your camera off and keep its battery in there. It is essential to switch your canon camera off because otherwise, the battery may not charge.
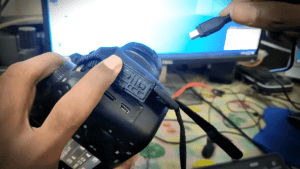
Step 2: Connect your camera and power bank using a USB cord
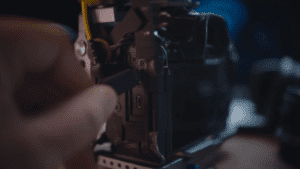
The next step is to simply connect your canon camera to your power bank. To do this, first, locate the port of your camera by removing the rubber cover. Once you find your canon camera’s cord connection point, plug the USB cable inside of it to connect. Now, connect the other end of this power cable to your power bank’s USB port. This way, you will be successful in connecting your power bank to the camera using the USB cord.
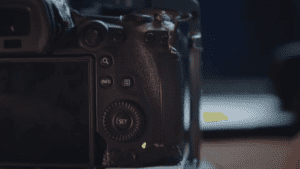
Step 3: Check the LCD panel of your camera
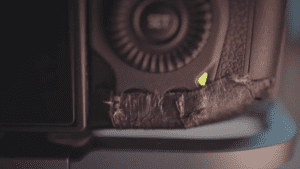
Now, with the help of the LCD panel present on the top of your camera, you can get more information regarding the battery. This LCD panel shows a battery icon that indicates the level of battery to be charged. If the light at the back of your canon camera blinks red, it might be running low. On the other hand, a green light indicates that your camera’s battery is charging.

Step 4: Disconnect once your camera is charged
After a few hours of charging, when your camera’s battery is fully charged, and the green light disappears, you can disconnect the power bank. You will also be able to have an indication from the battery sign on your camera.
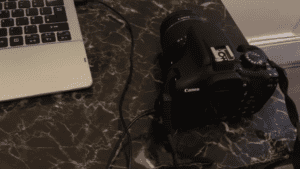
2. Charge with your computer
If you do not have your camera’s battery charger or a power bank, you can even use your computer to supply power to your canon camera. However, a few types of cameras, like mirrorless cameras and DSLRs, need more power for charging, and this method of using your computer might not work for them.
So before you decide to go ahead with it, it will be better to ensure if it’s even possible. You can verify and confirm from the user guide provided by your camera. If you use this method of charging for your canon point-and-shoot camera, it will definitely work. To walk you through this process of charging and using this technique, the detailed steps are listed below.
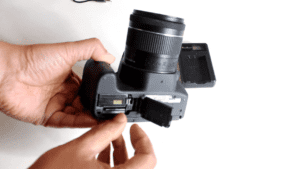
Step 1: Insert your camera’s battery and switch it off
The first step to charge your canon camera using your computer is to insert its battery and make sure the memory card is in place. This is because a lot of canon cameras do not pick up the charging unless they have a memory card. Once done, switch your canon camera off. A camera that is switched on might not be able to charge, so it is crucial to turn it off.
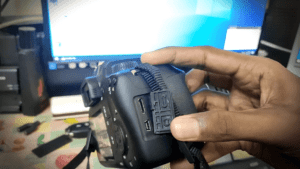
Step 2: Connect your camera to a USB cable
Once you’ve followed the above steps, attach your canon camera to a USB cable. Since a rubber flap covers the ports of your camera, you can lift it up to have access to those slots. Once you can see the cord connection points of your canon camera, simply connect your USB cord to them.
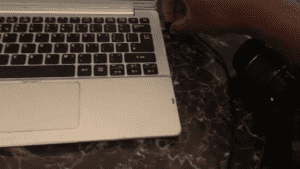
Step 3: Connect the USB cord to your computer
After connecting the USB cable with your camera’s cord connectors, connect the other end of this cable to your computer. You will find the USB port of your computer where you can plug the other end of the cord. This way, your camera will be connected to your computer for charging.
Step 4: Disconnect your camera once charged
Through a light being turned on, you will be able to know that your camera is charging. Your canon camera may take up to three hours to fully charge, after which the light may turn off to indicate that it’s been charged. You can then disconnect your camera from the cord and computer.
3. Use an electronic wall plug
Without a battery charger, you can also use an electric wall plug to charge your camera. Whatever power cord you decide to go ahead with, ensure that it’s compatible with your canon camera in case it doesn’t have one.
Based on your canon camera model, it might have come up with a USB cable or power adapter. However, if you do not have access to it or have misplaced the cable, you can use a USB-C, USB 3.0, or USB 2.0 Type A to Mini B. With a suitable cable and USB wall converter, you will be able to charge your camera battery without a charger. Follow the detailed steps listed below.
Step 1: Turn off your camera
Before you begin to use a wall plug for charging your canon camera, make sure to switch your camera off. This is because the canon battery may not pick up the charging with your camera turned on. Therefore, the first step is to ensure that your camera is switched off and your battery is installed into your canon camera.
Step 2: Connect your camera to a USB cable
The next step is to connect your camera to a USB cable. You may find this concealed inside the rubber cover with ports and slots for your canon camera. You can simply remove this cover and get access to the USB port to plug the cable inside of it.
Step 3: Insert the USB wall adapter into the electrical outlet
Now, you need to find an appropriate wall socket or electrical outlet to plug in the USB wall adapter. Once you are able to locate it, simply insert the USB wall adapter into it.
Step 4: Connect the wall adapter to your cable
Now, the next step is to connect the USB wall adapter that you just plugged into the outlet to the USB cable.
Step 5: Allow the battery to charge
After following all the steps mentioned above, your camera will begin to charge without even a battery charger. It might take about 3 hours to charge. Once the canon battery gets fully charged, the light will automatically turn off. A crucial thing to avoid is overcharging. Make sure not to leave your canon camera on charging for longer than 24 hours, as it can impact its battery life.
4. Replace batteries
If the battery of your canon camera is nearly dead and you are left with no alternative to charging it after misplacing the charger of your camera, you may resort to replacing the old canon camera batteries with new ones.
This method is definitely pricey, but it is the only solution when none of the above alternatives work, and you intend to charge your camera without a USB cord. You can replace the old batteries with AAA batteries and then get the charger appropriate for them. The detailed procedure for replacing batteries is mentioned below:
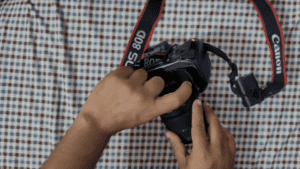
Step 1: Access your camera’s battery compartment
The first step is to switch off your camera and have access to its battery compartment. You will find this compartment easily as it is mostly located at the back of your camera. Once you find it, carefully open the hatch and use a screwdriver if required.
Step 2: Remove the old batteries
After opening the batteries compartment, take the old batteries out and get rid of them to make space for new ones.
Step 3: Place new batteries
Now, simply place the new batteries inside the compartment. Place them one at a time and make sure that the connections are connected properly.

Step 4: Turn on your camera
After replacing the old batteries with new ones, you can carefully shut the hatch after checking the placement of the batteries again. Finally, you can turn your camera on.
FAQs
Can I charge camera battery with phone charger?
If the charger of your mobile phone outputs at 5V, you can try using it if no other alternative works. But if the charger is less than 500mA, your camera will take much longer to charge.
Can I charge digital camera with USB cable?
Yes, you can charge your digital camera with a USB cable. For USB charging, all you have to do is plug the included cable into the connection points of your camera. Then, you can use your computer or power adapters for charging.