
If you own a canon camera and a Mac, you might be wondering how to share, transfer and download data from your canon camera to your Mac computer. Being new at handling a canon camera can definitely make it tricky for you to connect both devices and transfer data.
However, through this guide, I have attempted to walk you through the easiest methods for connecting a canon camera to Mac. So if you are looking for simplified steps to guide you through the entire process, you’ve come to the right place.
Is Canon camera compatible with Mac?
Canon cameras offer and allow you to have access to a variety of connectivity features on several platforms. In fact, the latest versions of such a camera offer a number of convenient methods for you to connect them to devices like Mac.
You can easily transfer and download data, which makes canon cameras compatible with Mac. It is natural for you to face difficulty while doing so if you have minimal experience using a canon camera, but with this step-by-step guide, you should be able to do it easily.
How To Connect Canon Camera To Mac
There are three easy methods for connecting a canon camera to Mac. With a new canon camera, you might have got a USB cable. If not, you can always buy it online. Using a USB drive to connect a canon camera to Mac is easily one of the most straightforward ways. Besides this, you can also use an SD card or simply connect wirelessly.
1. Use a USB cable
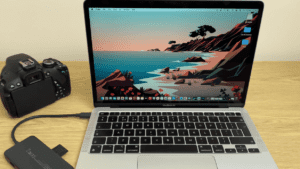
An easy method to connect your canon camera to Mac is to use a USB cable. A lot of modern mirrorless cameras, including canon, allow you to share data to your Mac effortlessly with a USB cable.
It is a quick and one of the most dependable methods for transferring images and videos. To connect your canon camera to your Mac with a USB drive, refer to the following steps, which have been simplified for you to follow:
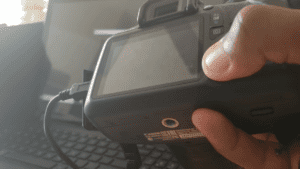
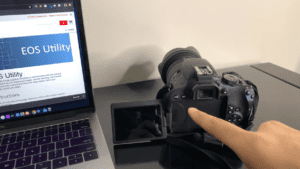
Step 1: Find the USB port on your canon camera and connect it
The first step is to look for a USB port on your digital canon camera. Once you are able to spot it, connect the appropriate end of your USB drive to the port.
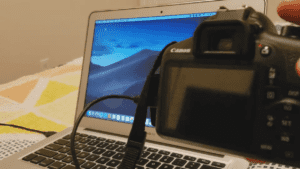
Step 2: Connect the cable to the USB slot of your Mac
After connecting one end of the USB cable to your canon camera’s USB slot, look for a similar port on your Mac. Then, simply connect the other end of the USB cable to the slot of your Mac.
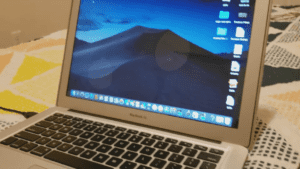
Step 3: Switch on your canon camera
After properly connecting both devices with a USB cable, simply turn on your canon camera. Your device will be able to recognize your canon camera to allow the download of data. Once done, you just have to wait for the instructions to appear on your Mac screen.
Step 4: Follow the instructions that appear on your screen.
Finally, you’ll be ready to transfer data and download photos and videos. All you have to do is follow the instructions you see on your Mac screen.
2. Connect wirelessly
By following this method for connecting your canon camera to a Mac, you would not have to invest in an SD card holder or USB cable like the other two methods. It is affordable and quite reliable. The only requirement is that your canon should be Wi-Fi supporting.
With this feature, you can wirelessly connect your canon camera to your Mac without any external cable or card. If you own a modern canon camera model, it is likely to support Wi-Fi. Older models, on the other hand, might not be compatible. So if your canon camera is compatible with Wi-Fi, you can follow the steps listed below to connect it to your Mac.
Step 1: Connect your canon camera to a wifi network
By adjusting a few network settings, you can connect your canon camera to your Mac computer effortlessly. Once you’re sure your camera is compatible with Wi-Fi, start by connecting it to your Wi-Fi network.
In most cameras, you will have to access the menu for the same and select the option for joining the network. This process is likely to vary as per the model of canon camera you own.
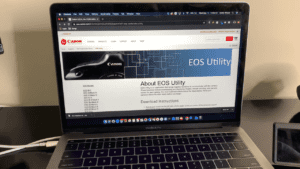
Step 2: Use the EOS utility software
After connecting your canon camera to your wifi network, you can go ahead with the canon EOS utility program. Although this software comes with canon cameras, you can always download it from the official website of canon as well.
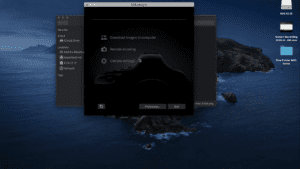
Step 3: Transfer the data
Once you’ve got the EOS utility software installed in your system, you can transfer all the data you want. All you have to do is connect your canon camera to the network and get the software to launch, which will eventually help you to transfer all the files.
3. Connect using an SD card
Using an SD card to connect your canon camera to Mac is an excellent option that has been gaining popularity among photographers. If you want to have a backup of all your digital images and videos on your SD card, you can definitely go ahead with this easy approach. All you have to do is take the memory card of your canon camera and insert it into your Mac. Continue reading for detailed steps.
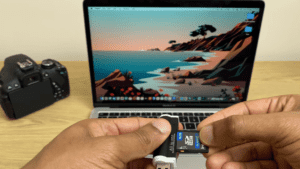
Step 1: Find the SD card in your canon camera
The first step to connect your canon camera to a Mac using a memory card is to locate it in your canon. It’s quite small in size, just the size of your fingertip. You may find it in the side compartment of your camera. Once you find it, gently pull it out of your camera or use the SD card release button to get it out.
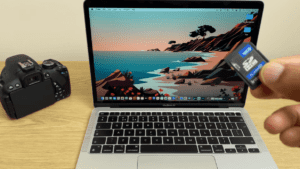
Step 2: Check if your Mac has a slot for an SD card
Next, you are required to check if your Mac has a port for inserting an SD card. Ensure that you have turned your camera off during this time. If you are able to find the slot in your Mac, simply insert the SD card into it and have access to the SD file folder. You can then simply import your data.
Step 3: Get an SD card reader if your Mac doesn’t have a slot
If your Mac does not have a port for inserting an SD card, you will have to get an SD card reader, which is a rectangular device meant to be plugged into your Mac and read your camera’s SD card.
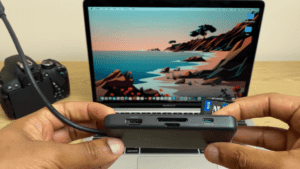
Step 4: Fit the SD card into a card reader
Now that you’ve got a USB-compatible SD card reader insert the SD card of your canon camera into it.
Step 5: Plug the SD card reader into your Mac
Once you’ve got your SD card inserted into the SD card reader, simply plug the card reader into a slot of your Mac.
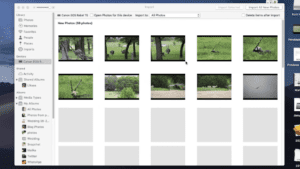
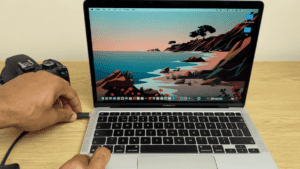
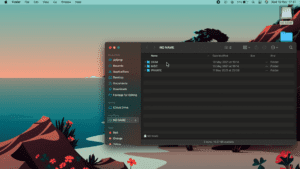
Step 6: Import the data
After plugging the card reader into your Mac, you may get the option of importing the photos in a while once your SD card gets recognized by the system. You can select the location where you would want your data to be stored. You can follow all the instructions and prompts that appear on your screen to complete the process of importing photos.
Step 7: Eject the SD card
Once you’ve imported your photos and videos, simply eject the SD card from the SD card reader, after which you can put it back on your canon camera.
Conclusion
Now that you know how to use canon’s top-tier connectivity features, connecting your canon camera to a Mac should no longer sound like a hassle to you. No matter how complicated you found it before, following the simplified steps of this guide will help you to import photos and transfer data effortlessly.
You can use any method listed in this article to connect your camera to a Mac computer. Whether you wish to use a USB drive, SD card, or wireless connection, you can opt for any method to transfer and download data.